8ft & 10ft Displays for Trade Shows
Our Most Popular 10' Hybrids | ||
Cell |
Cell
| Cell |
Suggestions for Selecting the Best 10x10 Trade Show Booth to fit YOUR Requirements
10x10 Trade Show Displays are the most common size for trade show booths. All but the largest trade shows are full of 10x10 booths, with just a few larger booths scattered around. So all exhibitors should have one or several great 10x10 booth designs, that form the backbone of their trade show marketing resources.
To help exhibitors with this effort, American Image Displays has organized the 1,000’s of booth designs by size, to make it easy to find the best 8x10 or 10x10 trade show booth for your particular requirements. And we’ve identified specific characteristics of the booths, to match your unique requirements.
Key Client Requirements:
- 10x10 trade show booths with great designs and good looking graphics, providing a solid high quality look and feel. (To mix metaphors, if it doesn’t leave a good taste in your client’s mouths, then you’ve shot yourself in the foot.)
- Our clients tell us that their sales teams need 10x10 displays that can be set up quickly, so the sales team can try to engage with a big client or attend training sessions at the show, and so you don’t have to hire expensive union labor.
- Your team needs a 10x10 booth that is lightweight enough so that shipping it doesn’t break your budget - even better if it is light enough that your desk-bound marketing associate or intern can set it up by themself.
- Your team wants their 10x10 booth setup instructions to be simple - they’re probably not engineers or rocket scientists.
- Your team especially doesn’t want to have to find a store open on a weekend that stocks the special tool that went missing from your 10x10 display after the last show.
- Attending many shows can mean different markets, so it would be very nice to be able to swap out graphics quickly on your 10x10 trade show booth.
- In today’s digital world, your 10x10 booth needs to “speak digital” - it at least needs to be able to hold an iPod or laptop and a monitor screen.
- Once they find this perfect 10x10 booth design, you want it to be durable, so it can reused for years, and not need to be replaced frequently.
- Bonus Factor - Modularity. It would be nice if you could combine two or more of your 10x10 booth designs together, to create a 10x20 or larger display for your annual big show.
We have many good 10x10 booth choices that meet ALL of the above requirements.
We also have some 10x10 booth designs that meet most of those requirements, perhaps adding a bit more weight in order to hold product shelves, or requiring an allen wrench to tighten down a connection, etc. We’ve identified all of these characteristics, including where these design trade-offs are present, so you don’t have to sort it out yourself.
Our team has one goal - your satisfaction. So when in doubt, please just ask one of our personal shoppers; they’re eager to help.
So Let’s Compare 10x10 Trade Show Displays
Our huge collection of 10x10 trade show displays includes a large variety of affordable, budget-friendly products. Although many of these booth designs are economically priced, they are also high-quality and durable.
We’ve hand selected a variety of pop up displays, trade show exhibits and portable backdrops that are good solutions for most 10x10 trade show requirements.
Many of our 10ft modular displays are modular, meaning they can be connected in various ways to expand into your 10x10 booth into a larger booth space, leveraging the value and lifetime of your investment.
We offer custom design services that can help you create these unique designs, and we also offer standardized 10x10 booth designs for those looking for fast turnaround and convenience.
Enough already - on to the choices
- The simplest solution for branding your 10x10 booth space is to skip the frame entirely, and use a full color fabric graphic that hangs on the draped curtain rod that the show provides. A 10ft wide fabric graphic, 8ft high, with full color printing can easily fit into your suitcase, and can be hung in just a few minutes. This approach meets all of the key requirements - no tools, fast, simple, and lightweight. Of course, it doesn’t offer any digital media support, but you can probably rent that from the show. And it might seem like a very simple “look”, but for a first time exhibitor, there’s a lot to be said for starting out with a small investment, until you learn more about which shows to attend, and the best way to bring your product and brand to market.
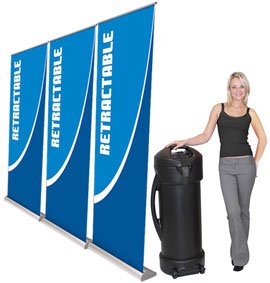
- Another approach that is almost as easy is to use several banner stands to create a graphic wall in your 10x10 booth space. Retractable banner stands come in many widths, and you can use three of them, approximately 3ft wide each, to create a 10x10 banner wall that doesn't need tools, and deploys fast and easily. Banner walls are pretty lightweight - most banner stands weigh about 8lbs each, so anyone can move them around one by one and set them up. Again, it is a simple “look”, but one that is not very expensive - and the banner stands can also be used separately later. A banner stand wall can also be a backup or plan “B” for an emergency, if your booth doesn’t make it to the show - if you have several banner stands in your display inventory, you can make do with a banner wall.
For most clients, skipping the frame and just using a graphic or a banner stand won't work, so then the next step is to select a trade show display that will work. The easiest and fastest booths to set up and take down are the tube-frame displays and the pop up displays. The tube-frame displays and the several accordion style popup displays we offer are leading edge designs, with great looks that are still very easy to setup and dismantle. They can also be customized to meet almost any need or innovative design concept. Both styles can be set up in 5-10 minutes usually, and both can easily be done by one person.
So, what’s a tube-frame display?
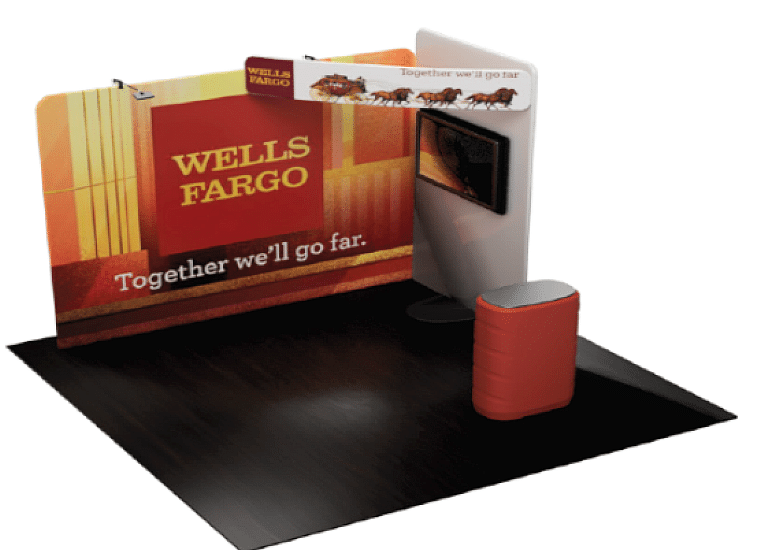
Tube frame displays are simple, economical display tools, and can be used to create a 8x10 or 10x10 display that costs less than a thousand dollars. These displays use straight and curved aluminum tubes, typically 1.25” diameter, to create the outline of the booth frame. The frames can be flat, curved, or serpentine in shape.
The tubes are usually sectioned into manageable lengths, 3-4ft long, and the tubes connect with buttons that pop out into matching holes on the mating tube. The frames assemble in only a few minutes; the tube sections are all color coded and marked so that it is simple to identify and slip them together quickly.
The fabric graphic is a full color print, and is designed just like a pillow case; you slip the open end over the frame, pull it down, and then zip it shut to pull the fabric tight and wrinkle-free. This graphic can be single sided, with a white panel in back normally, or it can be a double-sided print, with your branding visible from both sides of the display.
Typically a tube-frame that is a 10x10 display about weighs about 20lbs. They can be stored in a soft carry bag, about the size of a gym bag. The safest way to ship the full display is to put that carry bag into a hard shipping case.
Like most displays, there are lights designed to clip onto the top of a tube-frame display. There are also clamps that can connect two or more tube frames together, to create larger inline configurations or turn corners to create right angles or triangles.
These are not the fanciest look for a trade show, but they make good entry level booths, and solve the problems of many exhibitors - light weight, simple and fast to set up, easy to change graphics, no tools required.
The trade off in being lightweight is that they’re not very strong and so they can’t hold product shelves. To solve this problem, there are add-on accessory stands with shelves that can be placed adjacent to the tube-frame displays.
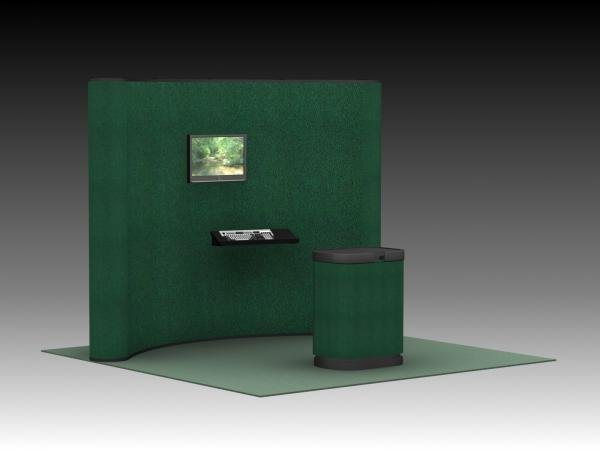
The other challenge is with video monitors - again, most of the frames are too lightweight to hold a monitor, and that large single graphic panel doesn’t leave room for a monitor. To solve this problem, again we have add-on monitor mounts that are placed on separate stands. These are placed behind the tube-form display, with a cutout in the graphic, so that the monitor can be hung in front of the graphic with the monitor stand hidden behind the graphic.
The other lightweight solution is to use a pop up display.
Pop up displays have been a mainstay for 10x10 trade show booths for many years. The biggest challenge is that it can be confusing to pick a good popup display, simply because there are dozens of different styles available. Many clients ask for us to help to sort out the many options.
What are the key differences in popup booths?
We get asked this a lot, and the answer comes down to two primary choices.
- The frame - most 10x10 displays use accordion type frames that are visually similar; light weight, simple to set up and take down. Because they have moving parts, they can break - but to be fair, usually the problem is caused by someone that is rushing to collapse the booth.
- The secret is that many booths have multiple locks to keep them up - and if you don’t release all of the locks, then the booth won’t collapse completely. And if you try to force it to collapse, you’ll break something.
- The key discriminator, and solution for any frame problem, is simple - only use a frame that comes with a lifetime warranty. (And train your I&D team to check all the locks!)
- The graphic - there are several choices to be made in graphics for popup booths:
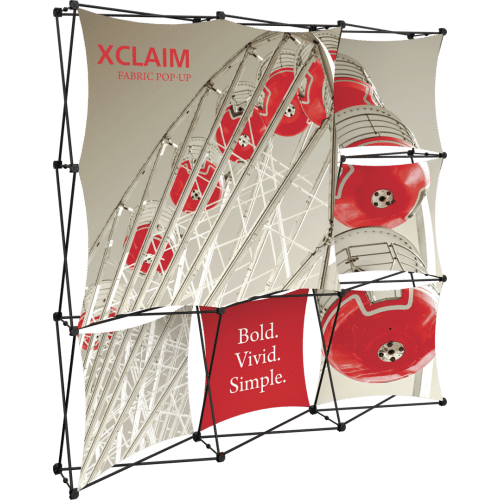
- Velcro receptive fabric panels, sometimes known as “carpet panels”, were one of the first options for popup booths. These carpet panels come in a variety of pre-dyed colors. A few are available printed, but the main reason for this type of panel is that the fabric is velcro-receptive, so you can attach graphics with velcro tabs on them, and swap them out and reposition your graphics as needed for every show. And even pull them off to show to clients at the show. Some of our clients still prefer this approach, other clients use small fabric graphic skins (Xclaim displays) to achieve almost the same utility with a professional look.
- Laminated photo mural graphic - these used to be the standard choice in high end pop up booths. Good photo quality prints that are laminated can’t be beat for image quality. Period.
- The only reason they’re not still the standard for popup graphics any more is that dye sub fabric printing has gotten much better, and fabric graphics are lighter and easier to handle - fabric graphics can even be thrown into the washing machine if they get soiled!
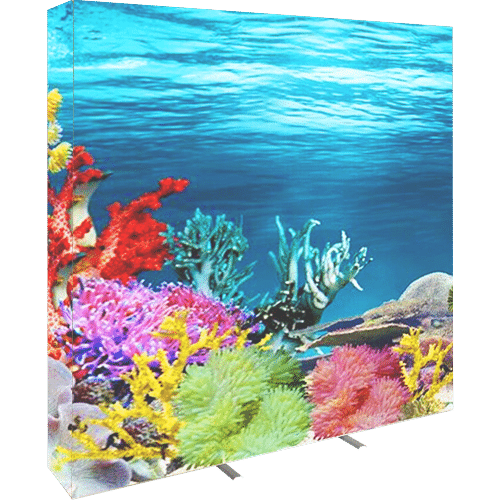
- Dye sub printed fabric graphics have become the standard for popup displays. This evolving print method now yields images that are almost as good as high quality laminated panels, and the tension fabric graphic is much lighter and easier to handle. There are several choices in how to attach these fabric graphics:
- Fabric graphics attached with Velcro - typically these are sized to fit the full front of the booth as a single panel, often with printed sides that wrap around the edge of the booth to hide the frame from view. The velcro is sewn into the outside edge of the graphic and attaches to another velcro strip that is glued onto the frame. Most often, this graphic stays on the booth when it is folded up, which means it can get wrinkled if stored for a while. The wrinkles go away by opening the booth up and stretching the fabric back out for a few hours (a little attention with a portable steamer cures any stubborn wrinkles.)
- SEG Fabric graphics - silicone edge graphics became an option in the last couple of years. A silicone bead is sewn into the outside edge of the fabric graphic, and that bead is pressed into a groove on the frame of the booth. On SEG popups, the grooves are in “channel bars”, extra pieces that are hooked onto the frame after you open it up, and then the graphic bead goes into the groove on the bars. The advantage to SEGs is fewer wrinkles and no visible velcro ripples in the graphic; the disadvantage is that you have to put the graphic on and take the graphic off when you’re setting up/dismantling the booth - but this also means that if you take the time to carefully store the graphic, there aren’t any wrinkles.
- Fabric “skins” - several popup displays use smaller fabric graphics or skins, that attach to buttons on the frame of the display. The skins can be several different sizes, up to the full size of the panel, but are normally smaller than full panel size. The main reason for using the smaller skins is that you can keep your logo or slogan on one graphic, and product images on other smaller graphics, and swap product images for different shows and markets. You can also easily change the look of your display by moving the skins around on the frame.
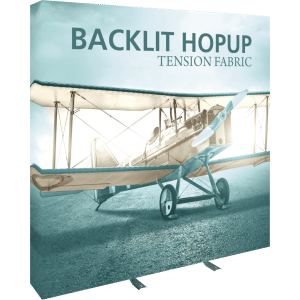
- A fairly new option for pop up displays is to add internal backlighting. This is done by hanging lights inside the frame, and adding a fabric on the back of the frame to act as a reflector and help contain that light, so that it brightens up the image in the front. Lights can be fluorescent tubes, but LEDS, even though more expensive, have proven to be more resistant to damage (most often in shipping). Backlighting is primarily an option for fabric graphic popups, and in these, primarily suited for the SEG or velcro full-panel styles. (We do offer fabric skins that use a led panel behind single 1x1 skins.)
- The last option to mention as we discuss 10x10 popup displays is the ability to hold product shelves and hang monitors. Most popup displays are not well suited for these two requirements; after all, they were made to be lightweight, so they’re not very structural. And even if the frame could hold a monitor or products, that large fabric graphic doesn’t leave much room for either - where would you put the shelves or the monitor?
- Well, one option, similar to the tube-frame displays, is to use a separate stand for shelves or a monitor. Stand-alone shelves solve the problem for displaying products. And like the tube frame displays, a monitor can be placed behind or inside the popup frame, so the graphic hides the frame, with a cutout for the monitor to be attached in front of the graphic.
- A second option is to place shelves or a monitor inside the popup frame. This is only a possibility on the frames that are a bit stronger and heavier than the lightest frames - but this trade-off provides a 10x10 display that is fast and easy to setup without any tools - and still provides for some product shelves and even a small monitor.
- There is also one accordion frame pop up display available that is uniquely designed for displaying products. This popup frame is heavier construction than normal, and the insides of the frame are designed to hold shelves, with a pre-dyed fabric panel placed behind the popup frame, and one or two logo graphic skins in front. If you have a lot of product to display, but still want a display that is fast and easy to setup, check out the FGS style popup displays with shelves
Accessorize your trade show booth
Once you have selected a great looking 10x10 trade show display, plan a few ways to re-configure it, for larger booths and different markets. Consider your plans for customers visiting your booth - are you going to create a flow path for them? Or discrete stations to demo products?
Once you have a plan for your demo’s and discussions, consider if you need any support tools for these sessions, or if you’d like to add something to change the look of your booth. A simple way to make a standard 10x10 trade show booth look unique is by integrating accessories such as counters and monitor kiosks, retractable banner stand walls and cell phone charging tables.
Simple and affordable full color fabric counters like the Waveline and Embrace counters quickly change the look of your 10x10 booth. There are also portable tables and custom printed round tables, both with vibrant graphics on the table tops. Maybe you’re promoting foods or offering samples or snacks at your event? Try a portable pop up serving bar.
Need to store or hide extra supplies or your staff’s personal items? Need locking storage? We have plenty of counters with internal storage, shelving, locking doors, with vibrant full color graphics and high-end laminate finishes.
Other 10x10' booth display upgrades include attached or free-standing monitor displays and branded padded flooring, to entice show attendees and help them rest their feet while visiting your exhibit space.
Need more ideas? Give us a shout, our experienced trade show crew would welcome the chance to help you select and configure your next 10x10 trade show display!
See 5 Ways to Maximize Your 10x10 Booth Design here.
Price match guarantee. All displays printed and assembled in the USA. Lifetime Manufacturing Warranty. Almost all 10ft displays are produced in 4 business days or less.

